You may remember a Tempeh Meatball recipe I posted last year, which often graces our table with Italian style meals. Think Spaghetti Squash Lasagna, or Summer Pesto Pasta. This dish borrows the base from those meatballs, and brings it East with a homemade Teriyaki Sauce. I like to serve it with a quick stir-fry of broccoli and bell peppers.
If you are unfamiliar with tempeh, this is a great intro recipe. Tempeh is a fermented soybean cake, which renders the soy easy to digest and assimilate. Rich in protein as well fiber- it is the kind of dish that sticks with you. I love to have my fridge stocked with meatballs for both snacks and a quick meal.

This is a great recipe to get kids involved in. My daughter loves to add all of the ingredients to the food processor, and then help roll them as well. Just expect a mess (always). She can barely wait for them to cool before she starts gobbling them down.
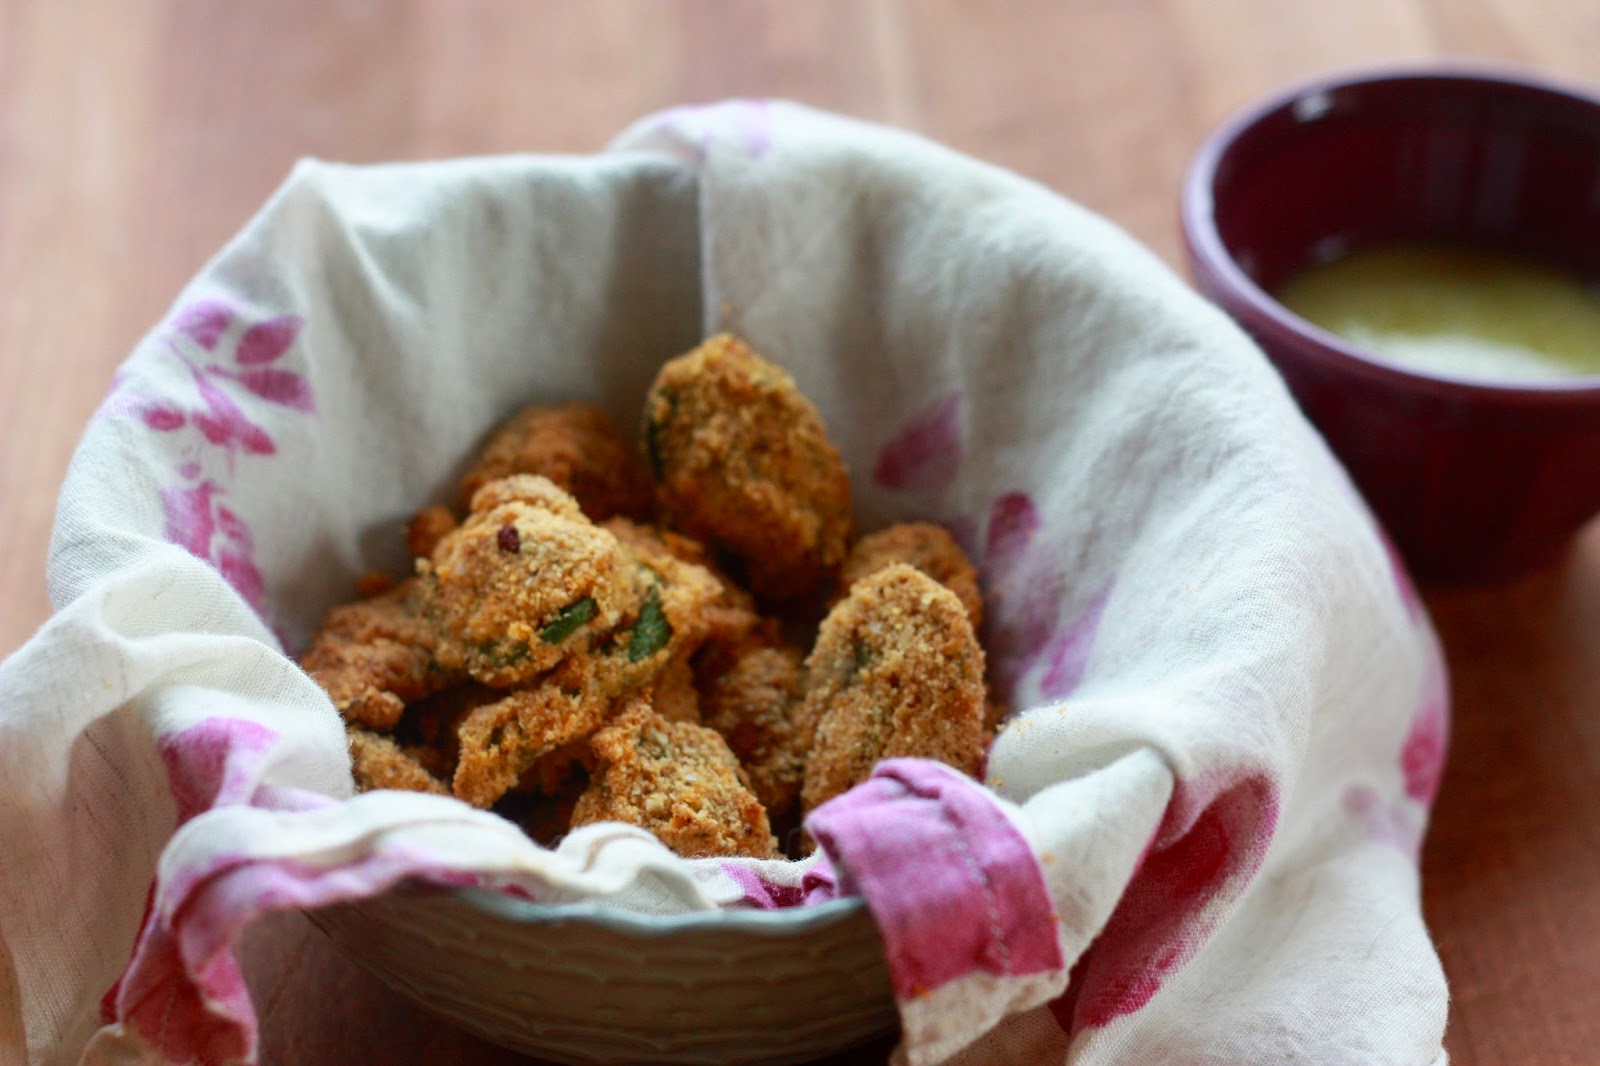
Teriyaki Tempeh Meatballs
Serves 2-3
½ cup water
2 tbs. tamari soy sauce
¼ tsp ginger powder
¼ tsp. garlic powder
2 tbs. honey
¼ tsp. sriracha
1 tsp. arrowroot powder
1 tbs. cold water
8 oz. tempeh
1/4 cup brown rice flour
2 tbs. neutral oil
1/4 tsp. salt
Directions
2 tbs. neutral oil
1/4 tsp. salt
1 tbs. oil
1/2 cup chives, chopped
1 tbs. toasted sesame seeds
Directions
Preheat oven to 350 degrees.
To prepare teriyaki sauce, place water through sriracha in to a small pot and bring to a simmer. In a small bowl, mix cold water with arrowroot. Add to boiling sauce, continue to simmer stirring constantly, until thickened, and remove from heat.
Cube tempeh and add to the bowl of a food processor. Process until crumbled. Add 4 tablespoons of prepared teriyaki sauce, as well as flour, oil and salt. Continue to process until dough gathers in to a ball.
Roll mixture into 12-16 meatballs and place on a parchment paper lined baking sheet. Bake for 10 minutes, rotate and roll over and continue for another 10 minutes, or until golden brown.
To finish, heat last tablespoon of oil in a large skillet. Add chives and stir-fry for one minute. Add meatballs and remaining teriyaki sauce and cook until sticky and golden. Sprinkle with sesame seeds.