Showing posts with label foraged. Show all posts

Wednesday, May 4, 2016

Peppercorn Pickled Ramps


Ramp season. You know it's my favorite. But it is so fleeting! This recipe will allow you to preserve your ramps to enjoy for months to come. 


For more on where to look for ramps, how to harvest them sustainably and a recipe for the greens you won't be using here, check out my Wild Dandelion and Ramp Pesto post. Or hop over to find out how to make them into a seriously addicting compound Ramp Butter. Both are great ways to fill your freezer so you will never have to be without. 


I happened to have some beautiful pink peppercorns for this recipe, straight from California. In the case that you don't, regular black peppercorns will be just fine. Don't let the type of vinegar stop you either- any mild white vinegar will do- white wine vinegar or rice vinegar for example. 


Peppercorn Pickled Ramps

Recipe inspired by Bon Appetit

Ingredients

1 cup ramp bulbs, greens saved for another use
1 tsp pink of black peppercorns
2 bay leaves
2 red chilis
1/4 cup white balsamic vinegar
1/2 cup water
2 tbs. raw sugar
3/4 tsp. salt

Directions

Clean ramps well and remove bulbs from greens. Dry and save the greens for another use- they are great in salads or pestos.

Place ramp bulbs, peppercorns, bay leaves and chilis in a pint size mason jar.

In a small pot, bring vinegar, water, sugar and salt to a boil. Pour over ramps to fill the jar. Cool, cover and store in fridge for weeks to months.

Tuesday, May 5, 2015

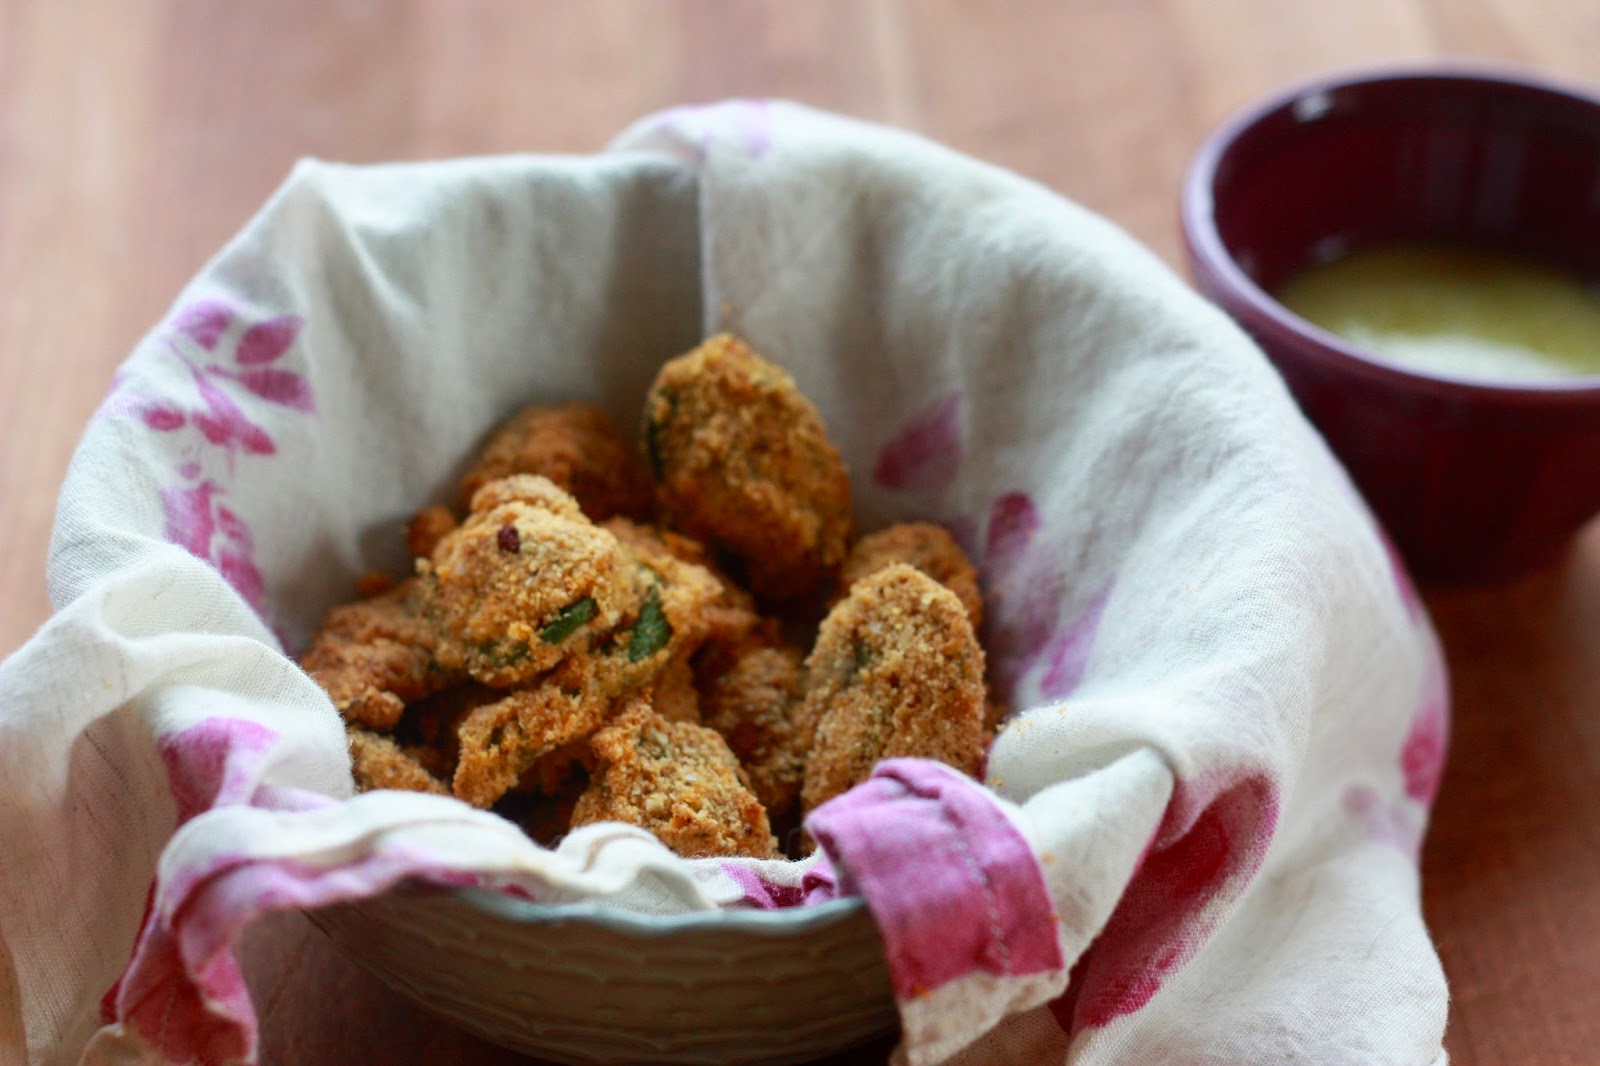
Crispy Fiddlehead Poppers


Woohoo!!! It's that time of year again. Wild ramps and fiddleheads are popping up- spring it is so sweet!


I absolutely love ramps, also known as wild leeks- the leaf is similar to a chive and the root bulb to a shallot. It is a member of the alium family, and offers hints of both onion and a mild garlic flavor.

In the past, I have posted recipes for Ramp Butter and Wild Dandelion Ramp Pesto. This year, I wanted to share a Fiddleheads recipe, which only seems overdue, given my name and love for the wild fern. 

Nutritionally speaking, these shoots are rich in Vitamin A and C, iron and manganese as well as omega-3 fatty acids.


It seems as though most recipes out there center on either pasta, garlicky sautés or pickling, so I wanted to share something a little different. This recipe is a bit addicting, and I can imagine it would go over well across the age groups. Not a bad way to get your ferns in. 


These poppers are super quick and easy, and pretty fool-proof. They reheat well- just pop them back on a sheet pan in a 350 degree oven for 5 minutes or so. You want to enjoy these babies hot. 

I enjoy them by themselves, but a dipping sauce does truly bring them over the top. Today I mixed equal parts plain whole milk yogurt with a lemon vinaigrette I had in the fridge, and that was delightfully rich yet tangy. I can imagine they would be great with any sort of aioli you could dream up, or my vegan raw almond "aioli" (with or without the cilantro, depending on your stance).

Crispy Fiddlehead Poppers
Serves 2

Note: if you do not have access to sumac, replace with garlic granules or powder.

Ingredients

2 cups fiddlehead ferns, washed well and trimmed

1/2 cup blanched almond flour
1/2 tsp sumac
1/4 tsp. smoked paprika
1/2- 3/4 tsp. sea salt (depending on your salt level preference)

1 large egg

1 tbs. oil for drizzling

Directions

Preheat oven to 400 degrees.

Clean and dry and fiddleheads well, trimming to a 1/2 inch below the furling head.

In a medium bowl, mix together almond flour, sumac (or garlic), smoked paprika and sea salt.

In a separate medium bowl, beat egg. Add in fiddleheads and toss well. Using a slotted spoon, remove fiddleheads from egg, letting excess drip off. Move in to almond flour mixture bowl and toss to coat very well.

Place breaded fiddleheads on a parchment paper lined baking sheet. Drizzle with oil. Bake for 10 minutes. Rotate pan and continue to bake for another 5 minutes. Remove pan, flip fiddleheads and return to oven for the final 5 minutes.

Serve immediately with your favorite dipping sauce.

Relax. Eat Well. 


Tuesday, May 21, 2013

Knotweed Syrup


I have been experimenting with Japanese knotweed this spring, as there is certainly no shortage of this extremely invasive species on our Vermont riversides and backyards. Now that you see an image of it, you have probably noticed it everywhere, right? In the early spring, when the shoots are young, it is tender enough to eat raw or cooked. The taste is similar to rhubarb, perhaps with a bit more citrusy tang. I was simply cutting the young shoots at the base, removing the leaves, and using them anywhere I would rhubarb- in dessert bars, cakes, or even in savory soups.

After our late frost, I noticed that the stalks got pretty tough, too fibrous to really chew through and enjoy on their own. But the flavor was still there- so I started to make some simple knotweed syrups- for pancakes, mixed drinks, morning bowls or yogurt and the like. Here is a very simple recipe for a knotweed syrup- I encourage you to try it yourself for a local, and very inexpensive natural sweetener.

I used a few beets to help bring a crimson hue to this syrup- as the greenish/brown of the knotweed alone did not wet my appetite. Another option (especially in a month or so) would be fresh
strawberries. Yuummm.


Knotweed Syrup

Ingredients
6 cups of chopped knotweed, leaves removed and ends trimmed
6-8 cups of water
1/2 cup of raw cane sugar, or maple syrup, plus more to taste
1/2 cup of red beet, diced
1/2 tsp. cinnamon
1/8 tsp. allspice
1/8 tsp. salt
1-2 tbs. arrowroot, or organic cornstarch

Directions

Place knotweed through beet in a small pan, narrow enough so that the water nearly covers the knotweed. Over high heat, bring to a boil. Remove lid, lower heat to medium-low and continue to cook until both the knotweed and beets are soft, tender and broken down, about 20-30 minutes. Remove from heat, add spices and cool.

Once cool enough for the blender, blend the entire mixture until completely smooth, adding additional water as needed. Using a cheesecloth lined funnel, strain mixture into a quart sized mason jar. As the mixture will be thick, you will probably have to work in batches, pouring some into the cheesecloth, and then squeezing the liquid though, similar to making nut milk.

Once you have strained the entire mixture, you should have about a quart of syrup. Taste and adjust sweetness with additional maple syrup or honey to taste. I like to give it a final strain through a fine-mesh strainer to remove and fiber strands that might have snuck through.

Rinse original pot and return strained syrup to the stove top. Over medium heat, bring syrup to a low simmer and whisk in 1 tbs. arrowroot. Continue to whisk until thickened, just a minute or two, adding a second tablespoon if necessary.


Enjoy as a mixer for seasonal cocktails, over bowls of toasty granola, to flavor plain yogurt, or for an interesting syrup for morning waffles and pancakes. I also used it to make a chia pudding, simply by blending about 2 cups of the syrup with 1 cup of chia seeds and a few frozen strawberries (this makes a lot- you might want to downscale). I then used some of the chia pudding as the center for my Almond Thumbprint Cookies- it bakes down into a nice gooey filling! Tee hee hee.


Relax. Eat Well.